Let me start off this post by saying I had little to nothing to do with this DIY. My lovely genius mother sewed and constructed these roman shades and made my windows look like angels. I wasn’t even smart enough to take pictures of each of the steps, so all I can show you is the final product and some tips. That being said, if you are thinking about making your own roman shades and have any sewing prowess whatsoever, you should do it.

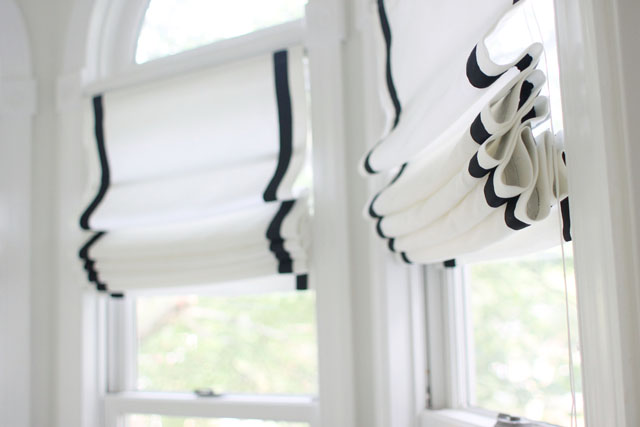
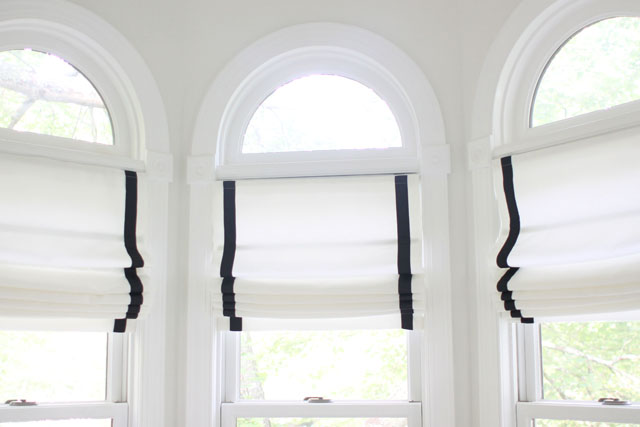
So I spent a long time trying to figure out the best window treatment for the 9 (yes 9!) windows in our bedroom. We have 3 windows in the main part of the bedroom and 6 windows in the little nook that you see in the above picture. That is a lot of window treatments, which would have cost me a lot of money if I bought them from a store, even if they were just cheap bamboo shades like I was originally thinking. Even more confusing was the fact that our bedroom is on the front part of the house so for the main part of the bedroom, I wanted to do treatments that would provide privacy but still be able to let in light. I decided on normal roman shades for the nook and top down/bottom up roman shades for the main part of the bedroom. We’ll talk about the top down/bottom up version at a later date, but even the normal roman shades can get expensive (see these Pottery Barn ones that look the exact same as mine for a cool $177 per shade) so I begged my mom to see if she could make them. Thank god she agreed.
So I’m not going to do a step by step for you, because she mostly followed Little Green Notebook’s post. I found this really cheap white linen ($6/yard !) and bought 10 yards, and we measured the inside of each window for her to sew the fabric for the shade. She also sewed a lining inside for extra privacy, and then sewed a black ribbon down each side of the front of the fabric. She used the ugly old mini-blinds that were already in the window and cut out most of the little slats and the extra cords, just like the post says. However, instead cutting out all of the slats, she left some in, evenly spaced, to help the fabric fold as you pull up the roman shades. She glued on the edges and center of the mini blinds but left the part with the string glue free because the strings need to be able to move freely.

Also, instead of the wooden slat Jenny used, my mom glue the same metal bottom from the mini blinds that we already had a couple of inches from the bottom of the fabric. When we were putting up the shades, we just relooped the string through the metal piece and tied a knot at the end.

One of the most genius things she did was decide to velcro the top of the fabric to the top of the mini-blind, so it can be adjusted if you don’t line it up quite right when you are putting housing (metal piece that attaches into the window) of the mini-blind back into place.
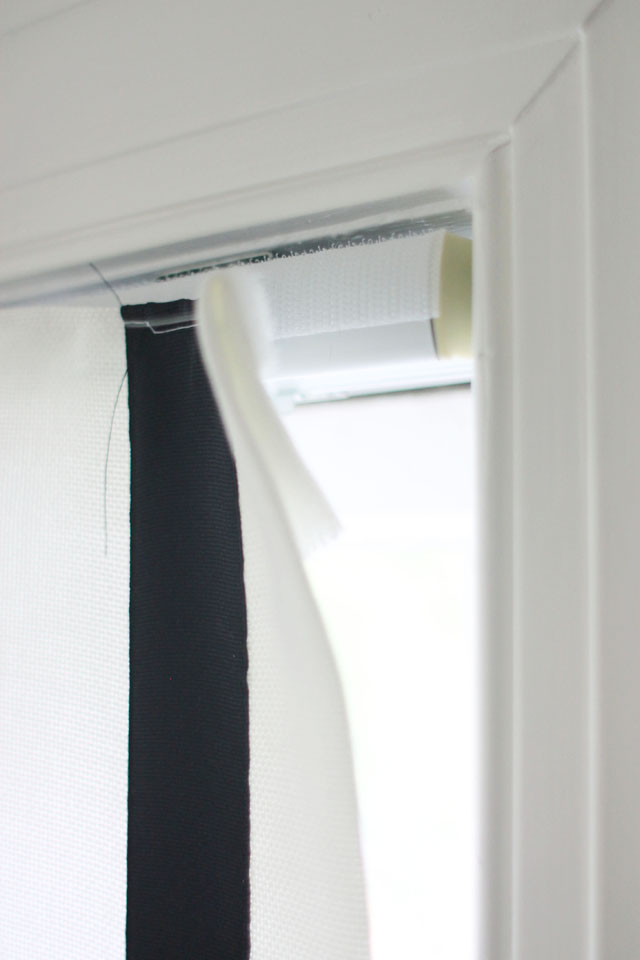
Genius.


If you’re looking for me, I’ll be in my nook reading and staring at the loveliness of my window treatments. Oh and that chaise lounge is from One Kings Lane but they also have them at Urban Outfitters (way overpriced) and Target (for way cheaper.)

This seriously blows me away and just so you know I am copying. Same exact thing. It is dumb how good looking this turned out.
Marilyn! They are beautiful! You did a great job!!!
Oh so beautiful!!!
Happy Birthday!!!
May I say that I am in LOVE with these?!!!! So beautiful. Mama B. is so talented… guess I know where yall get it from 😉
. Un grand merci!
Thanks for a marvelous posting! I truly enjoyed reading it, you happen to be a great author.I will be sure to bookmark your blog and may come
back very soon. I want to encourage that you continue your great work, have
a nice holiday weekend!
Furama condotel, condotel furama, furama đà nẵng, furama
danang